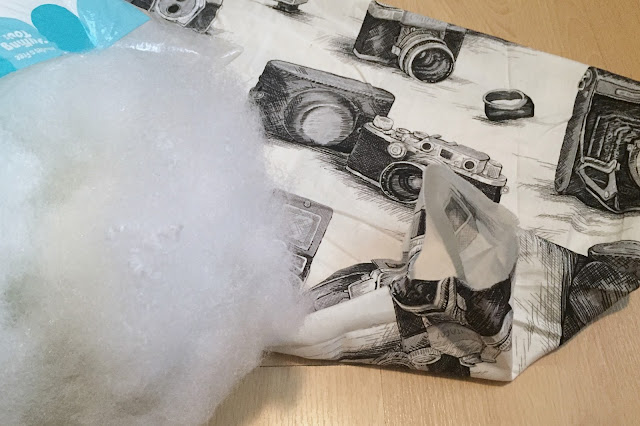
I really like pillows. I have at least 3 on my bed at all times. So, when I came across some great fabric in the discount bin at Hobby Lobby, I knew exactly what I wanted it for. It just happened to be the perfect amount of fabric to make two lumbar throw pillows, which is exactly what I wanted.
My mom started to teach me how to sew when I was five. I started with small hand sewn projects like a pin cushion and simple doll clothes. She taught me how to knot the thread and how to do simple stitches. After that, I moved on to bigger projects, learning how to use a sewing machine when I got older. I ended up not having much patience for sewing so I only sew occasionally, but it is a skill that has come in handy many times.
I have one of my grandmother's sewing boxes that is still filled with her thread and fabric scraps. It's fun knowing that I'm making something using the same thread and needles that she used. It's also interesting to see a spool of thread with a price sticker that reads 5 cents. Prices have changed quite a bit since then.
My Cost
3/4 yard cotton fabric: $4.04
2 bags poly-fil: $3.99 - 40% off with coupons
Other supplies came from my sewing box
Total for each pillow: $4.41
Supplies needed:
Fabric
Pillow Stuffing
Thread
Needle
Straight Pins
Scissors
Ruler or Yardstick
Pencil or Chalk
Sewing Machine
Step 1
Wash and dry your fabric and iron if needed. Fold your fabric face to face and use your ruler to cut your fabric to the desired size including at least 1/2 inch on all sides for seams. Once sewn, your pillow will be slightly smaller than the size you cut. You should have two identical pieces of fabric which will be the two sides of your pillow.
Step 2
Pin the edges of the two sides together so that all edges stay together while you sew. If your new to sewing, you can use your ruler to mark a straight edge with a pencil or chalk to be a guide while you sew so that you end up with straight edges.
Step 3
Sew all four sides of your pillow being careful to leave a hole to fill your pillow. I like to leave a space just large enough to fit my hand into so that I can reach into the pillow if needed. Make sure that you sew your pillow inside out and remove the pins as you sew! You don’t want to break a needle on a pin.
Step 4
Stuff your pillow. This is where being able to reach inside your pillow is helpful so you can make sure your pillow doesn't end up lumpy.
Step 5
Now your pillow is almost done but you still have a hole the size of your fist, so now what?
Tuck the edges to the inside so that when pinched together, the seam looks complete and pin to hold.
There are a couple of different stitches you can use to finish your pillow, but I used a whip stitch. It's one of the easiest stitches for beginners and I just like how it looks. Make your stitches very small and close together.
If you don't know how to sew a whip stitch, click HERE.
If you don't like the whip stitch and want to use an invisible stitch, click HERE.
Step 6
Your pillow is done! Give it a good fluff and admire your work!


4 comments:
What a lovely idea! You can never have too many pillows. The print you used is so cute. :-D
Great sharing! I really search like same site to find a excellent tips for Car Stickers. Car Stickers
Great job on the pillow! I have been sewing for quite a few years and pillows are one of the easiest things to make. By the way I am a Blimey Cow fan and I recognized you in the videos. I am pretty sure I also saw you at the Home school convention in TN. I absolutely love your hair. Please post your secrets on how you get it to look so perfect.
Hey Alexandria! Thank you so much! I actually did a post a while back on curly hair. You can find it here -> http://www.blackberrymorning.com/2016/02/4-types-of-curly-hair-and-how-to-manage.html
Post a Comment